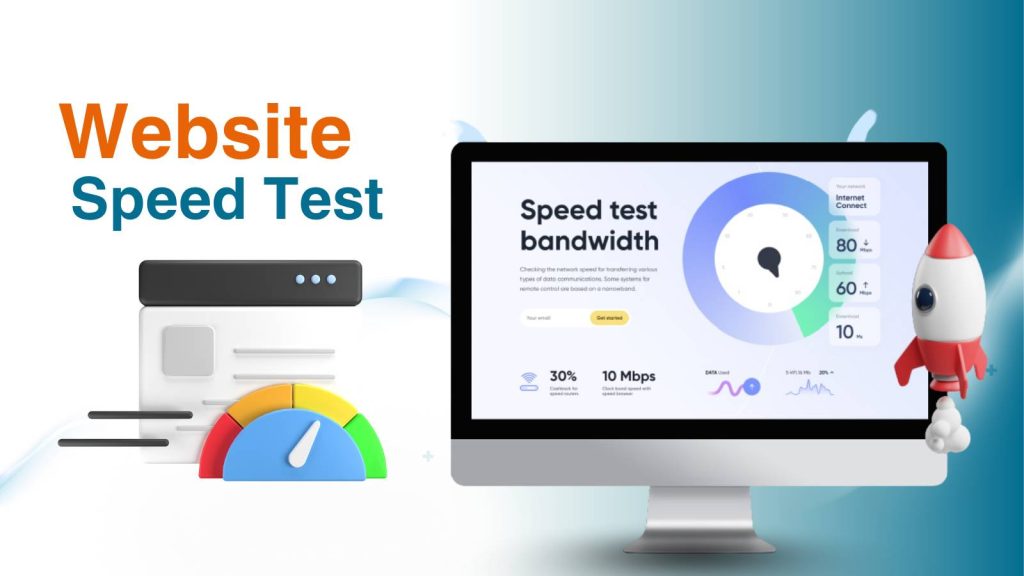
Website speed has become a vital component of both user experience and search engine optimization. When a website loads slowly, it not only drives users away but also negatively affects search engine rankings. As a result, optimizing website performance is now a important part of digital success.
How to Fix Website Downtime Issues Fast – Step-by-Step Guide
Conducting performance tests directly on a live site can lead to unpredictable issues, such as temporary slowdowns, user disruptions, or accidental SEO impacts. This is why using a staging site is highly recommended. It offers a safe and controlled environment for testing speed improvements without affecting the live user experience.
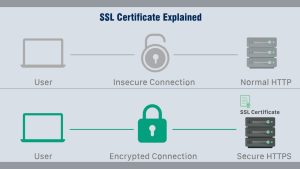
Despite its advantages, a staging site can pose serious SEO risks if not handled properly. If search engines access the staging version of your website, they might index it, causing content duplication, ranking dilution, and potential visibility issues. Therefore, it’s essential to learn how to run a comprehensive website speed test on a staging site while ensuring that your SEO remains protected.
What Is a Staging Site and Why It Matters
A staging site is a replica of your live website that exists in a private development environment. It serves as a testing ground where you can make changes, troubleshoot problems, and perform performance audits without affecting the main site. Staging environments are typically used by developers, designers, and marketers to experiment with new features, apply updates, or test optimizations in a safe and isolated setup.
What makes staging sites valuable is their ability to simulate real-world conditions. You can analyze how your website performs under specific configurations or load scenarios without risking the functionality or appearance of the live version. Because they mirror the live site so closely, they also carry the same risks if accessed by search engines. This is why controlling access and preventing indexing is essential when using staging environments.
Why Testing Website Speed on a Staging Site Is Essential
Website performance is directly linked to user engagement and SEO success. A faster website not only keeps users engaged but also improves conversion rates and reduces bounce rates. Testing website speed in a staging environment gives you the flexibility to make performance-related changes without worrying about causing disruptions on your live site.
Conducting tests on staging allows for precise monitoring of performance metrics, validation of optimization strategies, and safe deployment of performance-enhancing features. It also enables teams to collaborate efficiently and address speed-related issues before they impact actual users. By identifying and fixing problems during the testing phase, you ensure a smoother and more reliable user experience post-deployment.
Additionally, speed testing in staging gives you the ability to monitor how specific changes impact your Core Web Vitals, which are key performance metrics used by search engines to assess page quality. By improving these metrics in staging, you can better prepare your site to meet search engine expectations and rank higher.
Understanding the SEO Risks in Staging Environments
Even though staging environments are not intended for public access, they can still be crawled and indexed by search engines if left unprotected. When search engines index a staging version of your website, it can lead to several SEO problems that can be difficult to reverse.
One of the most significant risks is the creation of duplicate content. When both the live and staging versions of your site are indexed, search engines may view them as separate sources of the same information. This can confuse search algorithms and reduce the visibility of your main site in search results.
Another risk is the dilution of link authority. If search engines encounter backlinks pointing to both the live and staging versions, the overall authority of your domain can become fragmented. This weakens the performance of your pages in search rankings.
Uncontrolled staging sites can also send mixed signals to search engines regarding which version should be prioritized. This misalignment may affect how your content is crawled, indexed, and ranked. That’s why implementing the right preventive measures is critical before starting any testing activities.
Best Practices to Prevent SEO Issues While Testing
To ensure that staging site testing does not harm your SEO, it’s important to implement protective strategies that restrict access and guide search engines appropriately. The first measure involves instructing search engines not to index the staging environment. This can be achieved by applying specific tags or configurations that signal your intent clearly.
Another essential step is blocking crawlers through your site’s configuration settings. This ensures that even if someone accidentally links to your staging site, search engines won’t be able to access or index it.
Securing the staging environment with authentication adds another layer of protection. This method restricts access to authorized users only and makes it difficult for crawlers to bypass the barriers.
In addition, canonical signals should be correctly set up to ensure that search engines understand which version of the page is authoritative. This helps maintain proper link equity and reduces the risk of duplicate content.
Finally, make sure the staging site is isolated and not referenced by any public-facing content. This minimizes the chances of external discovery and unintended indexing.
Effective Tools for Running Website Speed Tests on Staging Sites
After securing your staging environment, the next step is choosing the right tools for conducting website speed tests. There are several performance testing tools available that provide detailed insights into your website’s loading behavior and help identify bottlenecks.
These tools offer visual representations, performance scores, and detailed reports covering metrics such as server response time, content paint timings, layout shifts, and interactivity delays. Some tools also allow you to test performance from different geographical locations and simulate various device types and network conditions.
By using multiple tools together, you can cross-reference data and obtain a more accurate picture of how your website performs. This approach allows you to identify and fix performance issues before deploying your site to a live environment.
Step-by-Step Guide to Running a Website Speed Test on a Staging Site
To run a successful website speed test on your staging site without risking SEO, you must follow a systematic process.
Step 1: Secure Your Staging Site
Ensure your staging site is protected from search engines by applying appropriate configurations, access restrictions, and indexing controls. This step is vital to avoid accidental discovery and indexing by search bots.
Step 2: Replicate the Live Environment Accurately
Before testing, make sure the staging site mirrors the live site as closely as possible. This includes server settings, plugins, caching mechanisms, and content. Accurate replication ensures your speed test results are meaningful and transferable to the live site.
Step 3: Select Your Performance Testing Tools
Choose reliable and well-established tools to evaluate various aspects of your site’s speed. The tools should allow you to test both mobile and desktop versions and provide comprehensive reports for each metric.
Step 4: Perform Multiple Speed Tests
Run several tests to account for variability in results. Network conditions and background processes can influence load times, so averaging multiple test runs provides more consistent data.
Step 5: Analyze Metrics and Identify Bottlenecks
Focus on key performance indicators such as loading speed, responsiveness, content stability, and resource blocking. These metrics provide insights into which areas need improvement and which elements are slowing down your site.
Step 6: Implement Optimizations
Apply performance improvements based on the analysis. These may include adjusting images, refining code, minimizing scripts, and optimizing server responses.
Step 7: Re-Test and Confirm Improvements
After making changes, rerun the tests to validate that the optimizations had the desired effect. Only proceed to live deployment once the staging site meets your performance benchmarks.
Avoiding Common Mistakes in the Testing Process
During the website speed testing process, several mistakes can compromise the effectiveness of your tests or result in SEO complications. One major error is neglecting to apply SEO restrictions before beginning the test. If the staging site becomes indexed, the consequences can be difficult to reverse.
Another issue is testing a staging site that does not accurately reflect the live environment. Differences in hosting configurations, file versions, or caching behavior can lead to misleading results that do not translate to the live site.
Focusing only on desktop performance is also a common oversight. As mobile usage continues to grow, testing and optimizing for mobile users is essential. Speed metrics should be gathered from both device categories to ensure a well-rounded performance profile.
Failing to retest after each optimization is another pitfall. Testing is not a one-time event. Each change should be validated to determine whether it had a positive impact or introduced new performance issues.
Key Tips for Improving Site Speed Before Going Live
Before deploying the staging site to a live environment, use the testing period to apply meaningful optimizations. Start by reducing the size of large files, such as images, by compressing them or using more efficient formats. Streamlining resources such as stylesheets and scripts also improves load times by reducing the number and size of HTTP requests.
Using caching techniques, both on the server and browser side, can significantly improve repeat visit performance. Lazy loading of offscreen content allows visible content to load faster, improving perceived speed for users.
Reducing the number of third-party scripts and integrations helps minimize external resource delays. Evaluating and trimming unused elements not only boosts speed but also makes the site easier to maintain post-deployment.
Final Checklist Before Moving to the Live Site
As you prepare to launch your optimized site, ensure the following actions are completed:
- All access restrictions and noindex tags on the staging site have been removed or adjusted for live deployment.
- Performance optimizations have been tested, validated, and documented.
- Canonical tags have been updated to reflect the live domain.
- Final website speed tests show improved results across key metrics.
- Mobile and desktop performance have both been verified.
- The staging site is no longer linked or referenced in any public documentation.
Completing this checklist ensures that your site is ready for public access, both in terms of speed and SEO integrity.
By following a structured approach and applying the recommended best practices, you can confidently improve your website’s speed while ensuring your SEO remains protected. This balance between performance and optimization is the foundation of a successful, high-ranking website.
FAQs
1. What is a website speed test?
A website speed test measures how quickly a webpage loads and responds. It analyzes various performance metrics like load time, time to first byte (TTFB), page size, and the number of HTTP requests, giving insights into what may be slowing your site down.
2. Why is website speed important?
Website speed affects user experience, SEO rankings, and conversion rates. Faster-loading websites retain more visitors and rank better on search engines like Google. A delay of even 1 second can reduce conversions by up to 7%.
3. How can I test my website speed?
You can use tools like:
- Google PageSpeed Insights
- GTmetrix
- Pingdom Tools
- WebPageTest
- Lighthouse (Chrome DevTools)
These tools analyze your site and provide suggestions for improvement.
4. What is a good website load time?
Ideally, your website should load in under 2–3 seconds. Google recommends keeping it under 2 seconds for optimal performance and user engagement.
5. What metrics should I look for in a website speed test?
Key metrics include:
- Page Load Time
- Time to First Byte (TTFB)
- First Contentful Paint (FCP)
- Largest Contentful Paint (LCP)
- Cumulative Layout Shift (CLS)
- Total Page Size
- Number of Requests
6. Why does my website load fast for me but slow for others?
Your browser may cache your site, making it load faster locally. Others may experience delays due to their location, device, browser, or internet speed. Speed test tools simulate a first-time visitor experience.
7. How often should I test my website speed?
It’s a good idea to test your site speed:
- Monthly, as part of regular maintenance.
- After major updates or design changes.
- After adding new plugins or third-party scripts.
8. What slows down a website?
Common causes include:
- Large image files
- Too many HTTP requests
- Render-blocking JavaScript
- Slow hosting servers
- Unoptimized code
- Third-party scripts (e.g., ads, tracking pixels)
9. How can I improve my website speed?
Steps to improve speed include:
- Compress images
- Use lazy loading
- Minify CSS, JS, and HTML
- Enable browser caching
- Use a content delivery network (CDN)
- Choose a faster web hosting provider
10. Do website speed tests affect SEO rankings?
Yes. Google includes page speed and Core Web Vitals in its ranking algorithm. A faster website can positively influence your SEO and improve visibility in search results.