Apple’s Find My app has proven to be a game-changer when it comes to locating lost devices or sharing your live location with family and friends. It’s accurate, fast, and well-integrated within the iOS ecosystem. However, while the feature is highly beneficial in most situations, there are times when you may not want to share your real-time location — whether for privacy, personal boundaries, surprise planning, or testing purposes.
Find a Lost Phone (Android & iPhone) Using Smart Tracking Methods
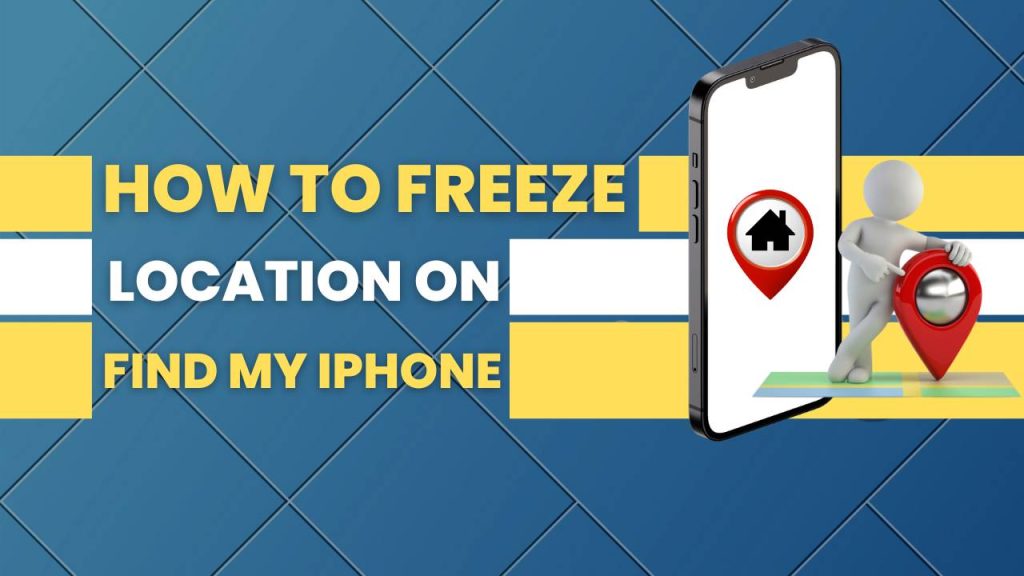
This guide will take you through all the effective ways on how to freeze location on Find My iPhone, offering clear instructions, detailed reasoning, and practical insights for each method. This isn’t just about stopping tracking; it’s about understanding how iOS handles location data and how you can regain control over your digital footprint.
What Does “Freezing Your Location” Actually Mean in Find My iPhone?
When people refer to “freezing your location” on Find My iPhone, they’re talking about halting real-time updates of your whereabouts on Apple’s Find My network. In simple terms, it means the location shown to others doesn’t change even though you’ve physically moved elsewhere.
This creates an illusion that you are still in the same place — whether that’s your home, office, or any static location — despite being on the move. This method is particularly useful in situations where you don’t want to reveal your actual location but also don’t want to stop sharing altogether, which might raise suspicion.
iPhone Stolen Device Protection: How to Safeguard Phone and Data from Theft
Unlike turning off location services completely (which shows “Location Not Available”), freezing your location preserves the illusion of normal activity, making it appear as though you are exactly where they last saw you.
Method 1: Using a Secondary iPhone or iPad to Share a Static Location Instead of Your Main iPhone
The most reliable and discreet method to freeze your location on Find My iPhone is by using a second Apple device logged into the same iCloud account. When you configure this second device to share your location, Find My will reflect the stationary position of the secondary device, while your actual iPhone can be moved around without triggering any location updates. This method is entirely legitimate and invisible to others.
Step-by-Step Instructions for Setting Up Location Sharing from a Secondary iOS Device:
- Get a second iOS device such as an iPhone, iPad, or iPod Touch. It doesn’t have to be new — just ensure it can access iCloud and connect to the internet via Wi-Fi or SIM.
- Sign in with your Apple ID: On the second device, go to Settings and log in using the same Apple ID as your main iPhone. Authenticate if prompted via two-factor verification.
- Navigate to Find My settings by going to Settings > [Your Name] > Find My > Share My Location.
- Enable “Share My Location” from this second device, and ensure that it is set as the default location-sharing device under your Apple ID.
- Place the second device at your preferred fake location (home, office, friend’s house) and ensure it stays connected to Wi-Fi or data.
- Carry your primary iPhone as usual, and it will no longer be tracked by Find My — only the stationary secondary device will be.
Why This Method Is the Most Effective and Safe:
- There are no error messages, alerts, or suspicious signs shown to anyone checking your location.
- It allows uninterrupted use of your main phone, including internet, calls, and GPS for other apps.
- This method is ideal for long-term location freezing without disabling any features or violating Apple policies.
Method 2: Enabling Airplane Mode Temporarily to Freeze Location at the Last Known Point
Airplane Mode provides a quick and effective trick to freeze your iPhone’s location temporarily. By disconnecting all wireless networks (cellular, Wi-Fi, and GPS), the phone stops transmitting location updates, causing Find My to continue displaying your last known position until the network connection is restored.
Step-by-Step Guide to Using Airplane Mode for Temporary Privacy:
- Swipe into the Control Center by swiping down from the top-right corner (for Face ID models) or swiping up from the bottom (for Touch ID models).
- Tap the Airplane icon to activate Airplane Mode. This will immediately cut off cellular, Wi-Fi, and Bluetooth connections.
- Location services will be halted, meaning your GPS and Wi-Fi-based location won’t update on Find My or any other app.
- Keep your iPhone in Airplane Mode for as long as you need privacy. Your Find My location will remain static until connectivity is restored.
Important Considerations When Using This Method:
- Once Airplane Mode is disabled, your phone will immediately update your real-time location, which may alert others to movement.
- During Airplane Mode, you won’t be able to receive calls, messages, or use apps that rely on mobile data or Wi-Fi.
- This is best used for short durations, such as meetings, events, or brief private moments.
Method 3: Turning Off Location Access for the Find My App Only via Settings
Apple’s iOS offers granular control over location permissions, allowing you to restrict location access for specific apps like Find My without affecting the entire device. By disabling GPS access for the Find My app alone, you can effectively stop it from reporting your location while continuing to use other GPS-based services like maps or ride-sharing apps.
Detailed Steps to Disable Find My’s Access to Your Location:
- Open the Settings app and go to Privacy & Security > Location Services.
- Scroll down to Find My in the list of apps and tap to open its location permissions.
- Change access from “While Using” or “Always” to “Never”, which stops the app from accessing GPS data.
This change will cause Find My to freeze your last known location or show “Location Not Available” to others checking your status.
Additional Settings to Strengthen Privacy:
- Navigate to Settings > General > Background App Refresh and disable it for Find My, ensuring it can’t restart or refresh in the background.
- Under System Services, you can also turn off “Find My iPhone”, “Location-Based Alerts”, and “Share My Location” to completely prevent the app from updating anything location-related.
Key Advantages and Downsides of This Method:
- It allows other apps to function normally, preserving full usability of your iPhone while blocking only Find My.
- It may raise suspicion, as people will see “Location Not Available”, indicating that location sharing has been restricted.
- This is most effective when you don’t mind being temporarily invisible but want to continue using your iPhone freely.
Method 4: Using Third-Party GPS Spoofing Tools to Fake a Custom Location for Apps Like Find My
If you’re comfortable using a computer and software tools, GPS spoofing programs let you fully customize and control your iPhone’s visible location. These tools are popular among developers and advanced users who want to simulate location changes or set a fixed, false GPS point that will appear in Find My and other location-based services.
Popular GPS Spoofing Tools Available for iPhone:
- iTools by ThinkSky – easy to use, supports teleportation and movement simulation.
- Tenorshare iAnyGo – no jailbreak required, allows you to pick a fake location instantly.
- Dr.Fone – Virtual Location – feature-rich, supports route simulation and multi-spot movement.
- 3uTools – powerful free tool for jailbroken devices, offering deep-level GPS access.
How to Use a GPS Spoofing Tool to Fake Your Location:
- Download and install the GPS spoofing software on your PC or Mac.
- Connect your iPhone using a lightning cable and trust the connection when prompted.
- Open the program, and select a fake location using the map or search bar.
- Click on “Start Simulation” or “Move”, and your phone’s GPS will now show this chosen location in all apps, including Find My.
Technical Advantages and Legal Warnings:
- These tools allow you to simulate walking, driving, or teleporting, which adds realism and avoids suspicion.
- Some software requires developer access or jailbreaking, which may void warranties or affect device security.
- Use responsibly — misusing GPS spoofing to deceive others can violate Apple’s terms or local laws.
Method 5: Stopping Location Sharing with Specific Individuals from the Find My App
If your main concern is not general tracking but limiting who sees your location, Apple allows you to selectively stop sharing your location with specific people. This method is best when you want privacy from certain contacts without altering your entire location settings or using technical tools.
Instructions to Remove Specific People from Location Sharing:
- Open the Find My app on your iPhone and go to the People tab.
- Select the individual you want to hide your location from.
- Tap “Stop Sharing My Location”, and confirm the action.
- You can also go to the Me tab and turn off “Share My Location” globally if you want no one to track you.
What the Other Person Will See After You Stop Sharing:
- They’ll see either your last known location or a “Location Not Available” message when trying to view your whereabouts.
- This may prompt questions if they frequently check your location, but it’s a direct and honest solution to managing personal boundaries.
Best Situations to Use This Method:
- It’s ideal for situations where you want to hide from specific individuals like coworkers, ex-partners, or acquaintances without going fully offline.
- It requires no software, no device swapping, and keeps all other phone functions fully available.
- It’s the most straightforward way to control your digital privacy when needed.
Key Considerations Before Freezing or Hiding Your Location
Think About Relationships and Trust
Using these methods secretly could damage trust between friends, family, or partners. Always assess whether the short-term benefit outweighs long-term consequences.
Your Device’s Security Matters
Turning off location features can make it harder to locate your iPhone if it’s lost or stolen. Ensure you have proper device backups and security measures like Face ID or passcodes enabled.
Battery Drain Awareness
GPS spoofing apps, especially those simulating movement, consume more battery. Disabling location entirely or using airplane mode may help preserve battery life in emergencies.
Legal and Policy Implications
Tampering with system-level services or jailbreaking your phone may void your warranty, break Apple’s terms of use, or cause compliance issues in professional settings.
FAQs
What does it mean to “freeze” your location on Find My iPhone?
Freezing your location means stopping your real-time movements from being updated in the Find My app while making it appear as though you’re still in the last known spot. It’s a way to simulate being stationary, so others think you haven’t moved — even if you’re somewhere else. This is different from turning off location sharing, which alerts others with a “Location Not Available” message.
Can I freeze my location without turning off Find My or alerting others?
Yes, you can do this by using a second Apple device (like an iPad or another iPhone) logged in with your Apple ID. Set that device to share your location and leave it in a fixed spot. Your primary phone can then move freely without updating your actual position. This method is undetectable and does not trigger any notifications.
Is it possible to freeze location on iPhone without using a second device?
Yes, but only temporarily. You can enable Airplane Mode or disable Location Services for the Find My app. However, this may trigger a “Location Not Available” message on others’ screens, making it clear that you’ve turned off tracking. These methods work for short-term privacy, but they’re not as discreet as using a second device.
Will the person I share my location with know if I freeze it?
If you use the secondary device method, they will not be notified, and your location will appear normal — just static. However, if you disable location permissions, turn off location sharing, or turn on Airplane Mode, the other person may see “Location Not Available,” which could lead to suspicion or questions.
Can I still receive calls and messages while my location is frozen?
Yes, unless you’re using Airplane Mode, which disables cellular and Wi-Fi signals. If you use the second device method or revoke location access only for the Find My app, your iPhone remains fully functional for calls, texts, internet access, and app usage.
Does freezing my location affect other apps like Maps or Uber?
No, not if you only disable location access for Find My specifically in the Location Services settings. Apps like Google Maps, Uber, or weather apps will still function normally. However, if you disable GPS entirely or turn on Airplane Mode, those apps may also lose access to your location temporarily.
Is it legal to freeze or spoof my iPhone’s location?
Freezing your location using Apple-approved features (like the second device method or privacy settings) is perfectly legal. However, using third-party GPS spoofing tools, especially for misleading apps or violating platform rules, may breach Apple’s terms of service or even local laws. Always use caution and understand the ethical and legal implications.
Can I freeze my location for only one person but keep sharing with others?
Yes. In the Find My app, go to the People tab, select the person you want to stop sharing with, and tap “Stop Sharing My Location.” Your location will remain visible to others you’re still sharing with. Alternatively, use the second device method and let everyone continue seeing the frozen location.
What happens to my frozen location if I restart my iPhone or switch SIM cards?
Restarting your iPhone may re-enable location services or refresh the app’s settings, which could cause your real-time location to update again. If you’re using a second device to freeze your location, make sure that device stays active and online. Switching SIM cards doesn’t typically affect Find My, as the location tracking is linked to your Apple ID, not your SIM.
What’s the safest and most reliable method to freeze location on Find My iPhone?
The safest, most reliable, and undetectable method is to use a second iPhone or iPad signed into your Apple ID. Set that device to share your location and leave it at the place where you want your location to appear frozen. This method doesn’t require third-party apps, doesn’t disable critical functions, and won’t trigger warnings to anyone tracking you.