When your iPhone faces severe issues like freezing on the Apple logo, failed software updates, or firmware glitches, you need more than a regular reset or update. That’s where DFU mode on iPhone comes in. DFU (Device Firmware Update) is Apple’s most advanced recovery state that lets you completely reinstall the firmware and operating system—often fixing complex problems that standard Recovery Mode cannot.
Know everything: what DFU Mode is, when you should use it, how to activate and exit it, the differences between DFU and Recovery Mode, and the precautions you must take. Using an iPhone 6s or the latest iPhone 15 Pro running iOS 18, this guide covers it all.
What is DFU Mode on iPhone?
DFU Mode, short for Device Firmware Update, is the deepest state of recovery for your iPhone. When in DFU mode, your iPhone does not load the iOS operating system or boot loader, meaning it can still communicate with iTunes or Finder without initiating the system software. This enables iTunes/Finder to erase and rewrite both firmware and iOS from scratch.
This mode is especially useful for restoring devices with deeply rooted software issues. Unlike standard recovery or normal reboots, DFU Mode can reinstall the firmware and iOS even if the operating system is completely corrupted or unbootable.
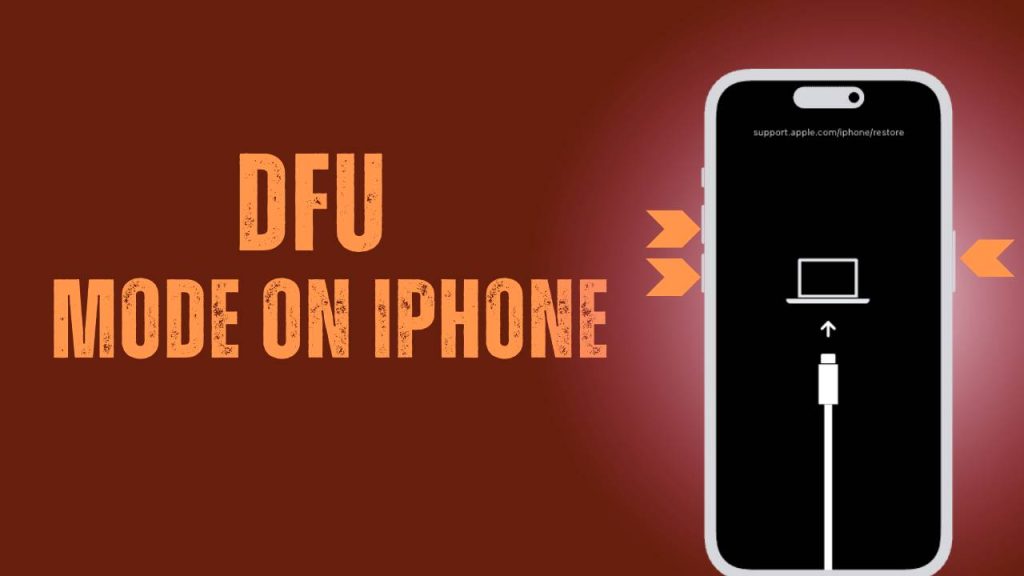
The screen stays completely black, indicating that no software is running in the background. It’s a state so low-level that even Apple doesn’t recommend using it unless it’s absolutely necessary. This makes it a powerful tool—but one that must be used cautiously.
When Should You Use DFU Mode?
1. Stuck on Apple Logo or Boot Loop Issues
Sometimes your iPhone may be stuck on the Apple logo and fail to start up normally. This usually means the boot process is corrupted. A boot loop can be caused by failed updates, faulty apps, corrupted backups, or even hardware problems. Standard Recovery Mode might not be enough because it depends on some iOS components to load. DFU Mode bypasses these components and allows for a full restore at the firmware level, effectively solving even the most persistent startup issues.
This is one of the most common reasons technicians and Apple support reps suggest entering DFU Mode—it gives the iPhone a chance to restart its software life cycle entirely.
2. Failed iOS Update or Downgrade Attempt
When updating to a new iOS version or testing a beta release, things don’t always go smoothly. Interrupted installations, low storage, or battery failure during an update can leave your iPhone unusable. DFU Mode is particularly helpful in such scenarios, allowing users to manually install an iOS firmware (IPSW) file that may have failed to install previously.
Likewise, if you’re trying to downgrade from a newer iOS version to a previously signed version (like rolling back from iOS 18 beta to iOS 17), DFU Mode is often the only way to do this cleanly and effectively, bypassing software-based restrictions.
3. Severe System Glitches or App Crashes
In some rare cases, your iPhone may experience recurring system crashes, unresponsive touchscreens, freezing screens, or major app failures that persist even after factory resetting the device. If system files are deeply corrupted, DFU Mode allows you to wipe everything at a deeper level and install a fresh copy of iOS, without using any of the existing (possibly faulty) files.
This is especially useful if you’ve restored from an old backup multiple times and still experience instability—it’s likely a deeper problem that only a DFU reinstall can fix.
4. Removing a Jailbreak or Undoing Custom Modifications
If your iPhone is jailbroken or has been modified using third-party tools, it may become unstable, unable to update, or even crash at boot. In such cases, DFU Mode helps remove all traces of the jailbreak and brings the iPhone back to an official Apple-supported iOS state.
Because jailbreaking modifies system files and sometimes firmware components, DFU Mode is the safest and most effective way to undo any jailbreak-related risks and restore security compliance for future iOS updates.
Supported iPhone Models for DFU Mode
The method for entering DFU Mode varies slightly depending on the iPhone model. All iPhones released to date support DFU Mode, including:
- iPhone 6s and 6s Plus
- iPhone SE (1st, 2nd & 3rd generation)
- iPhone 7 and 7 Plus
- iPhone 8 and 8 Plus
- iPhone X, XR, XS, XS Max
- iPhone 11 series
- iPhone 12, 13, and 14 series
- iPhone 15, 15 Plus, 15 Pro, 15 Pro Max
Even the USB-C powered iPhone 15 Pro can enter DFU Mode through the USB-C connection on macOS or Windows, making this recovery method relevant across every generation.
How to Enter DFU Mode on iPhone (Step-by-Step)
Below is the latest, most accurate method for entering DFU Mode based on your iPhone model.
iPhone 8 and Later (Including iPhone X to iPhone 15 Pro)
- Connect your iPhone to your computer using a certified Lightning or USB-C cable.
- Open iTunes (Windows/macOS Mojave) or Finder (macOS Catalina and newer).
- Quickly press and release the Volume Up button.
- Immediately, quickly press and release the Volume Down button.
- Now press and hold the Side button until the screen turns black.
- As soon as it goes black, press and hold Volume Down while still holding the Side button.
- After 5 seconds, release the Side button but continue holding Volume Down for another 10 seconds.
The screen should remain black, and iTunes/Finder will detect the iPhone in Recovery Mode. This confirms DFU Mode is active.
If you see the Apple logo or “connect to computer” screen, you’re in Recovery Mode, not DFU. You’ll need to try again more precisely.
iPhone 7 and iPhone 7 Plus
- Connect your device to the computer via USB.
- Open iTunes or Finder.
- Press and hold the Side button and Volume Down button simultaneously.
- After 8–10 seconds, release only the Side button but keep holding Volume Down.
- Continue holding Volume Down for another 5–10 seconds.
- The screen should remain black and iTunes or Finder will detect a device in recovery mode. You are now in DFU Mode.
This method is slightly different from other models since iPhone 7 lacks a physical Home button.
iPhone 6s, 6s Plus, and iPhone SE (1st Gen)
- Connect your iPhone to a computer using a Lightning cable.
- Open Finder or iTunes based on your macOS version.
- Press and hold both the Home button and the Sleep/Wake (Power) button.
- After 8 seconds, release the Sleep/Wake button but continue holding the Home button.
- If the screen stays black and iTunes/Finder says the device is in recovery mode, you’re in DFU mode.
This older combination relies on the physical Home button, which is missing in newer models.
How to Exit DFU Mode on iPhone (Updated for Latest Models)
If you’ve entered DFU mode on iPhone but changed your mind or no longer need to proceed with a restore, exiting DFU Mode is simple and safe. This process is called a force restart, and it works across all iPhone models. It will not erase any data or install firmware—it simply reboots your device back to its normal operating mode.
Here’s a fully detailed guide on how to exit DFU Mode for each iPhone model range:
iPhone 8, iPhone SE (2nd/3rd Gen), and All Newer Models Including iPhone X to iPhone 15 Pro Max
These models feature Face ID or Touch ID without a physical Home button. To exit DFU mode on these devices:
Step-by-Step Instructions:
- Quickly press and release the Volume Up button: This is the top-left volume button on the side of your device.
- Quickly press and release the Volume Down button: This is the bottom-left volume button.
- Now press and hold the Side button (Power button): on the right side of the device.
- Continue holding the Side button: until you see the Apple logo appear on the screen.
The screen will remain black for a few seconds before the Apple logo shows up. Keep holding the Side button patiently—even if you don’t see anything right away.
Once the Apple logo appears, your iPhone will boot back into the iOS home screen as normal. You have now successfully exited DFU Mode.
iPhone 7 and iPhone 7 Plus
These models use a solid-state Home button and require a slightly different combination.
Step-by-Step Instructions:
- Press and hold the Side button (on the right side of the device).
- At the same time, press and hold the Volume Down button (on the left side).
- Continue holding both buttons simultaneously for about 10–15 seconds.
- When you see the Apple logo appear on the screen, release both buttons.
Note: If you release the buttons too early, the phone may remain in DFU Mode. Make sure to hold both buttons until the Apple logo fully appears.
This will trigger a standard reboot and take your iPhone out of DFU Mode safely without applying any restore or firmware changes.
iPhone 6s, 6s Plus, and iPhone SE (1st Generation)
These older models include a physical Home button and Sleep/Wake (Power) button. Their method of exiting DFU Mode is based on the traditional reset sequence.
Step-by-Step Instructions:
- Press and hold the Home button (the round button below the screen).
- At the same time, press and hold the Power button (on the top or side of the device depending on the model).
- Keep holding both buttons simultaneously for at least 10 seconds.
- When the Apple logo appears, release both buttons.
Reminder: It may take several seconds for the Apple logo to appear, especially if the battery is low. Be patient and don’t release the buttons too early.
Once the logo appears, the device will reboot and exit DFU Mode successfully.
Precautions Before Using DFU Mode
Before proceeding with DFU Mode, always follow these safety tips:
Back Up Your Data: DFU Mode erases everything: Use iCloud or iTunes to make a backup of your photos, contacts, notes, apps, and settings before you begin.
Charge the Device Fully: Restoring firmware can take 15–30 minutes. A dying battery mid-process can corrupt the installation and brick the device.
Use Apple-Approved Cables: Non-certified Lightning/USB-C cables may cause connection errors or drop communication during firmware restoration.
Update Finder/iTunes: Always ensure your Mac or PC has the latest software updates to avoid errors during detection and restoration.
DFU Mode vs Recovery Mode: Detailed Comparison Table
| Feature | Recovery Mode | DFU Mode |
|---|---|---|
| Bootloader Loaded | ✅ Yes. The bootloader is active, allowing iTunes/Finder to communicate with the system. | ❌ No. DFU Mode bypasses the bootloader completely, enabling deeper access for firmware rewriting. |
| iOS Running | ⚙️ Partially. A recoveryOS is loaded to assist in update or restore. | ❌ Not at all. No part of iOS is loaded—device is in a raw state, ready for firmware installation. |
| Display Screen | 🖥️ Shows the iTunes logo or USB cable icon, confirming Recovery Mode entry. | ⚫ Completely black screen. No visible indication, making it less obvious when activated. |
| Primary Uses | 🔧 Fixing failed updates, restoring via iTunes/Finder, recovering from boot loops. | 🔄 Advanced repairs like firmware reinstallation, removing jailbreaks, and downgrading iOS. |
| Risk Level | 🔽 Lower risk. May preserve user data if only updating or soft-restoring. | 🔼 Higher risk. DFU restores erase everything—data loss is almost certain. |
| Jailbreak Removal | ❌ No. Recovery Mode may not fully remove jailbreak traces or system tweaks. | ✅ Yes. Completely wipes jailbreak and returns device to Apple-approved iOS environment. |
| iOS Downgrade Support | 🚫 Limited. Rarely allows downgrades, often auto-upgrades to latest iOS. | ✅ Yes, if the older iOS version is still signed by Apple, DFU allows full downgrade manually. |
| Common Use Cases | – Update errors – Stuck on Apple logo – Soft restore needed | – System corruption – Device won’t boot – iOS downgrade – Jailbreak removal |
| Suitable For | General users troubleshooting issues themselves or via Apple Support steps. | Advanced users, technicians, or developers needing full firmware-level control. |
| Detection by iTunes/Finder | Detected as “iPhone in recovery mode.” Visible prompt provided. | Detected as “iPhone in recovery mode,” but screen remains black—must confirm via software. |
By understanding the critical differences between DFU Mode and Recovery Mode, you can choose the best solution for your iPhone’s condition, minimize the risk of data loss, and successfully recover your device in even the most challenging situations.
FAQs
1. What is DFU Mode on iPhone?
DFU Mode (Device Firmware Update Mode) is a special iPhone state that allows your device to interface directly with iTunes or Finder without loading iOS or the bootloader. It’s used for advanced troubleshooting, including reinstalling firmware, downgrading iOS, or removing jailbreaks. Unlike Recovery Mode, DFU Mode provides deeper access to system-level functions.
2. When should I use DFU Mode?
You should use DFU Mode when:
- Your iPhone won’t turn on or is stuck on the Apple logo.
- You want to downgrade to an earlier iOS version (if signed by Apple).
- You need to remove a jailbreak and restore to factory settings.
- Recovery Mode doesn’t resolve the issue.
- Firmware has been corrupted or partially installed.
3. What’s the difference between DFU Mode and Recovery Mode?
DFU Mode bypasses both iOS and the bootloader, offering the deepest level of restoration. It shows a black screen and allows for full firmware erasure and reinstallation.
Recovery Mode, on the other hand, partially boots iOS and displays a screen with a USB/iTunes icon. It’s more user-friendly and typically preserves data during standard restores.
4. Will DFU Mode erase all my data?
Yes. Performing a restore in DFU Mode will completely erase all data on your iPhone, including apps, contacts, photos, and settings. It’s essentially a full factory reset at the firmware level. Make sure to back up your iPhone via iCloud or Finder/iTunes before using DFU Mode if data recovery is important.
5. How do I enter DFU Mode on my iPhone?
The steps vary by model, but here’s a common process for iPhone 8 and newer:
- Connect your iPhone to your computer via a Lightning/USB-C cable.
- Quickly press and release the Volume Up button.
- Quickly press and release the Volume Down button.
- Press and hold the Side button until the screen turns black.
- While holding the Side button, press and hold the Volume Down button for 5 seconds.
- Release the Side button but keep holding the Volume Down for another 10 seconds.
If done correctly, your screen will remain black, and iTunes/Finder will detect an iPhone in recovery mode.
6. How do I know my iPhone is in DFU Mode?
You’ll know your iPhone is in DFU Mode when:
- The screen is completely black.
- Your computer (via iTunes or Finder) displays a message saying “iPhone detected in recovery mode.”
- There are no logos or graphics on the screen—unlike Recovery Mode, which shows a USB or iTunes icon.
7. How do I exit DFU Mode without restoring?
You can exit DFU Mode without performing a restore by doing a force restart:
- iPhone 8 and newer: Press Volume Up → press Volume Down → hold the Side button until the Apple logo appears.
- iPhone 7/7 Plus: Hold both the Side and Volume Down buttons until the Apple logo appears.
- iPhone 6s or SE (1st Gen): Hold both the Home and Power buttons until the Apple logo appears.
This process reboots your device and exits DFU Mode safely.
8. Can I downgrade iOS using DFU Mode?
Yes, you can downgrade your iOS version using DFU Mode—but only if Apple is still signing the version you want to install. You must manually download the appropriate IPSW file and use Finder or iTunes to install it during the DFU restore process.
9. Can DFU Mode fix a boot loop or stuck Apple logo?
Yes. DFU Mode is especially effective for resolving boot loops, stuck Apple logos, or system crashes that can’t be fixed through Recovery Mode. Since DFU Mode reinstalls both the firmware and iOS, it can restore a bricked device to working condition.
10. Does DFU Mode void my warranty?
No. Simply entering or using DFU Mode does not void your iPhone’s warranty. In fact, Apple technicians often use DFU Mode for in-store repairs. Any unauthorized modification (like jailbreaking before using DFU) can void your warranty, and Apple may refuse to service such devices until they are restored.