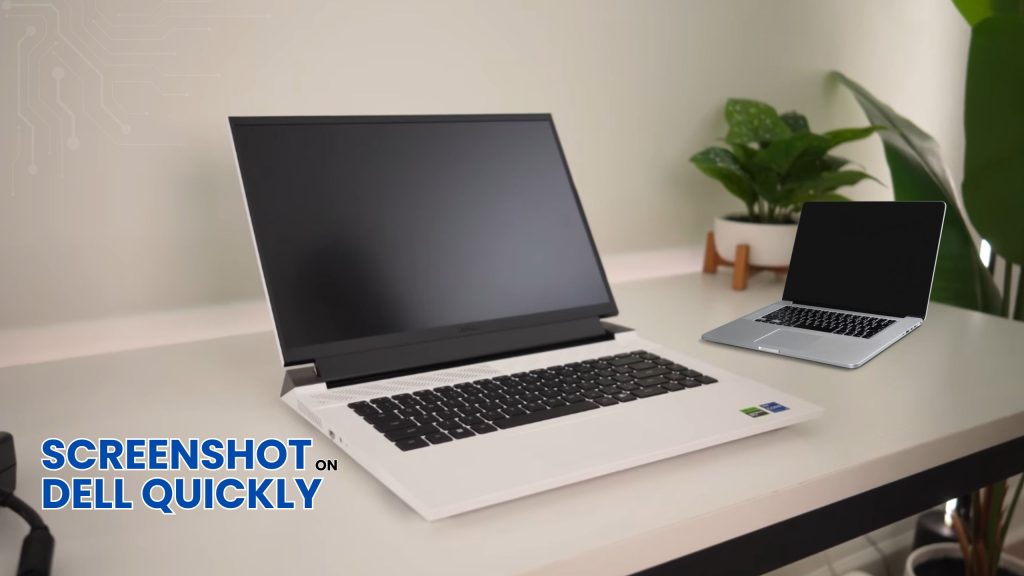
Capturing a screenshot on a Dell laptop is a fundamental skill that enhances productivity, communication, and documentation across personal and professional tasks. Whether you’re saving an error message for tech support, capturing a video call moment, or creating a visual tutorial, knowing how to take a screenshot on a Dell laptop is essential.
This step-by-step guide covers multiple screenshot methods compatible with the latest Dell laptop models, including Dell Gaming Laptops, running Windows 11 in 2025. From built-in keyboard shortcuts to advanced third-party tools, we’ll explore every option to help you master screenshotting on your Dell device – quickly and effortlessly.
Why Take Screenshots on a Dell Laptop?
Screenshots are invaluable for various purposes:
- Documentation: Save error messages, software interfaces, or settings for troubleshooting.
- Communication: Share visual information with colleagues, friends, or support teams.
- Tutorials: Create step-by-step guides or instructional content.
- Memories: Capture moments from video calls, games, or social media.
With Dell laptops like the XPS 13, Inspiron 16, Latitude 9440, and Alienware m18 leading the market in 2025, these devices offer robust hardware and Windows 11’s advanced features, making screenshotting seamless. Effective laptop all issues fixing, knowing how to take a screenshot is a basic yet essential skill.
Methods to Take Screenshots on a Dell Laptop
Method 1: Using the Print Screen Key (PrtSc)
One of the simplest and most universal ways to take a screenshot on a Dell laptop is by using the Print Screen key, often labeled as PrtSc, PrtScn, PrntScr, or similar. This method works across all Dell laptop models, including the latest XPS 15 (9550), Inspiron 14, and G16 Gaming series running Windows 11.
Steps to Take a Screenshot Using PrtSc
1. Locate the Print Screen Key
On most Dell keyboards, the PrtSc key is in the top row, typically near the Function keys (F10, F11, or F12) or the Delete key. On compact models like the XPS 13 Plus, it may share a key with another function, requiring the Fn key.
2. Capture the Entire Screen:
- Press the PrtSc key alone to capture the entire screen. The screenshot is copied to your clipboard.
- If the PrtSc key is shared with another function (e.g., F10), press Fn + PrtSc.
3. Paste the Screenshot:
- Open an image editor like Microsoft Paint, Photoshop, or GIMP.
- Press Ctrl + V to paste the screenshot.
- Edit the image if needed (crop, annotate, etc.).
- Save the file in your desired format (e.g., PNG, JPG) by clicking File > Save As.
4. Save Automatically (Windows 11):
- Press Windows + PrtSc. The screen will dim briefly, indicating the screenshot has been captured and saved automatically to the Pictures > Screenshots folder as a PNG file, labeled with a number or timestamp (e.g., “Screenshot (1).png”).
Tips for Using PrtSc
- Active Window Capture: To capture only the active window, press Alt + PrtSc. Paste the screenshot into an image editor and save.
- Clipboard History: In Windows 11, enable Clipboard History (Windows + V) to store multiple screenshots and paste them later.
- No PrtSc Key? On some Dell keyboards (e.g., KM3322W Wireless Combo), use Fn + Insert to perform the Print Screen function.
This method is ideal for quick captures and works on all Dell laptops, including the Precision 5690 and Latitude 7350, without requiring additional software.
Method 2: Using Windows Snipping Tool
The Snipping Tool is a built-in Windows utility that offers more flexibility than the PrtSc key, allowing you to capture specific areas, windows, or the entire screen. It’s pre-installed on all Dell laptops running Windows 11, making it a go-to option for how to do a screenshot on a Dell laptop.
Steps to Use the Snipping Tool
1. Open the Snipping Tool:
- Click the Start menu and type “Snipping Tool” in the search bar.
- Select the app from the results, or press Windows + Shift + S to launch the snipping mode directly.
2. Choose a Snip Mode:
- When you press Windows + Shift + S, the screen dims, and a toolbar appears with options:
- Rectangular Snip: Drag to select a rectangular area.
- Freeform Snip: Draw a custom shape to capture.
- Window Snip: Capture a specific window.
- Fullscreen Snip: Capture the entire screen.
3. Capture the Screenshot:
- Select your preferred mode and click or drag to capture. The screenshot is copied to the clipboard.
- A notification may appear in the bottom-right corner; click it to open the Snipping Tool for editing.
4. Edit and Save:
- Use the Snipping Tool’s annotation tools to add text, arrows, or highlights.
- Click File > Save As to save the screenshot as PNG, JPG, or GIF in your desired location.
Why Use the Snipping Tool?
- Precision: Capture specific areas without cropping later.
- Annotations: Add notes or highlights directly in the app.
- Ease of Use: No need to paste into another program for basic edits.
The Snipping Tool is perfect for users of the Dell Inspiron 16 Plus or Alienware x16, who need to capture specific portions of high-resolution displays for presentations or tutorials.
Method 3: Using the Game Bar
Windows 11’s Game Bar is another built-in tool that can take a screenshot on a Dell laptop, originally designed for gamers but useful for all users. It’s particularly handy on gaming-focused models like the Alienware m16 R2 or G15 (5535).
Steps to Use the Game Bar
1. Enable the Game Bar:
- Go to Settings > Gaming > Xbox Game Bar and ensure od:1
- Ensure the toggle for “Record game clips, screenshots, and broadcast” is enabled.
2. Open the Game Bar:
- Press Windows + G to launch the Game Bar overlay.
3. Capture the Screenshot:
- Click the Camera icon in the Capture widget, or press Windows + Alt + PrtSc.
- The screenshot is saved automatically to Videos > Captures as a PNG file.
4. Access the Screenshot:
- Open File Explorer and navigate to Videos > Captures to find the screenshot.
Advantages of the Game Bar
- Automatic Saving: Screenshots are saved directly, eliminating the need to paste and save manually.
- Gaming-Friendly: Ideal for capturing gameplay on high-performance Dell laptops like the Alienware m18.
- Quick Access: The Windows + G shortcut is easy to remember.
This method is straightforward and suits users who want a quick, no-fuss way to do a screenshot on a Dell laptop.
Method 4: Using Third-Party Tools for Advanced Screenshotting
For users seeking more advanced features like scrolling screenshots, annotations, or cloud sharing, third-party tools are an excellent choice. These are particularly useful for professionals using Dell’s Latitude 9440 2-in-1 or Precision 5490 for work-related tasks. Here are three popular options in 2025:
1. Lightshot
Features: Simple interface, customizable hotkeys, cloud sharing, and basic annotation tools.
How to Use:
- Download and install Lightshot from its official website.
- Press PrtSc (or a custom hotkey) to capture a region or full screen.
- Annotate with arrows, text, or shapes.
- Save locally or upload to the cloud for sharing.
Best For: Quick captures with easy sharing, ideal for Inspiron 14 2-in-1 users collaborating online.
2. Icecream Screen Recorder
Features: Captures screenshots and videos, supports scrolling screenshots, and offers robust annotation tools.
How to Use:
- Download from icecreamapps.com.
- Launch the app and select the Screenshot tool.
- Choose full screen, custom area, or auto-detection mode.
- Save in PNG or JPG, or share via cloud.
Best For: Users of XPS 16 needing versatile screenshot and recording capabilities.
3. EaseUS Screenshot
Features: Customizable hotkeys, scrolling screenshots, and screen recording with audio.
How to Use:
- Install EaseUS Screenshot from recorder.easeus.com.
- Select Rectangular or Full Screenshot from the toolbar.
- Drag to capture the desired area or press Alt for a full screenshot.
- Save or copy to the clipboard.
Best For: Precision 7690 users requiring advanced screenshot and video recording features.
Why Choose Third-Party Tools?
- Scrolling Screenshots: Capture entire webpages or long documents, perfect for Dell XPS 13 (9350) users working with extensive content.
- Annotations: Add professional-grade annotations for presentations or reports.
- Cloud Integration: Share screenshots instantly via links, ideal for remote work on Latitude 5450.
Troubleshooting Common Screenshot Issues on Dell Laptops
Sometimes, users encounter issues when trying to screenshot on a Dell laptop. Here are solutions for common problems:
PrtSc Key Not Working:
- Ensure the Fn key is not locked (check for an Fn Lock indicator).
- Try Fn + PrtSc or Fn + Insert if the key shares a function.
- Test with an external keyboard if using a compact model like the XPS 13 Plus.
Screenshot Not Saving:
- For Windows + PrtSc, ensure you’re using Windows 8 or later. Check the Pictures > Screenshots folder.
- If using PrtSc alone, paste the screenshot into an editor before saving.
Low-Quality Screenshots:
- Capture at the highest resolution (e.g., 4K on XPS 15 OLED displays).
- Use PNG format for better quality over JPG.
Snipping Tool Not Opening:
- Update Windows 11 to the latest version via Settings > Windows Update.
- Search for “Snip & Sketch” as it may have replaced the Snipping Tool in some updates.
Issues persist, contact Dell support or visit www.dell.com for model-specific guidance, especially for newer models like the Inspiron 16 2-in-1.
Compatibility with the Latest Dell Laptops (2025)
Dell’s 2025 lineup, including the XPS 13 (9350), Inspiron 16 Plus, Latitude 7450, and Alienware m18 R2, runs Windows 11, ensuring all the above methods work seamlessly. Key features of these laptops enhance screenshotting:
- High-Resolution Displays: 4K OLED screens on XPS 15 and Alienware x16 produce crisp screenshots.
- Touchscreens: Models like Latitude 9440 2-in-1 allow touch-based snipping with the Snipping Tool.
- Powerful Hardware: Intel Core Ultra 7 or AMD Ryzen 9 processors in Precision 5690 and G16 ensure smooth performance for third-party apps.
Always check your keyboard layout, as compact models like the XPS 13 Plus may require Fn combinations for PrtSc. For Dell tablets like the Latitude 7350 Detachable, use Windows + Volume Down to capture screenshots, saved to Pictures > Screenshots.
Best Practices for Screenshotting on Dell Laptops
To optimize how to do a screenshot on a Dell laptop, consider these tips:
- Organize Screenshots: Create a dedicated folder (e.g., C:\Users\YourName\Screenshots) to store screenshots systematically.
- Use Shortcuts: Memorize Windows + Shift + S for quick snipping or Windows + PrtSc for auto-saving.
- Backup to Cloud: Use OneDrive’s auto-save feature (OneDrive Settings > Auto-save Screenshots) to back up screenshots automatically.
- Annotate Effectively: Use third-party tools like Lightshot or Icecream Screen Recorder for professional annotations on XPS 16 or Latitude 5450.
- Check Keyboard Layout: On models like the Inspiron 14 2-in-1, verify if PrtSc is a secondary function requiring Fn.
Learning how to take screenshot on a Dell laptop is straightforward with the right tools and techniques. Whether you use the Print Screen key, Snipping Tool, Game Bar, or third-party software like Lightshot, Icecream Screen Recorder, or EaseUS Screenshot, each method caters to different needs.
Latest Dell laptops in 2025, such as the XPS 13 (9350), Inspiron 16 Plus, and Alienware m18 R2, offer robust hardware and Windows 11 features that make screenshotting efficient and high-quality. By mastering these methods, you can capture, edit, and share screenshots effortlessly for work, gaming, or personal use.
FAQs
1. How do I take a screenshot on a Dell laptop?
Press the PrtScn (Print Screen) key on your keyboard to capture the entire screen. Then, open an image editor like Paint, paste (Ctrl + V), and save the image.
2. How do I take a screenshot on a Dell laptop using Windows 11?
Use Windows + Shift + S to open the Snipping Tool in Windows 11. Select a portion of the screen, and the image will be copied to your clipboard for editing or saving.
3. What is the shortcut key to take a screenshot on a Dell laptop?
The most common shortcut is Windows key + PrtScn. This takes a full-screen screenshot and automatically saves it in the Screenshots folder inside the Pictures directory.
4. Where are screenshots saved on a Dell laptop?
Screenshots taken with Windows + PrtScn are saved in:
This PC > Pictures > Screenshots.
Screenshots taken with Snipping Tool or Snip & Sketch are copied to the clipboard and can be manually saved.
5. Can I take a screenshot of just one window on a Dell laptop?
Yes. Click the window you want to capture, then press Alt + PrtScn. Open Paint or another app and paste the screenshot to save it.
6. How do I take a screenshot on a Dell laptop without the Print Screen key?
Use Snipping Tool (Windows + Shift + S), or third-party apps like Greenshot or Lightshot to take screenshots even if the PrtScn key is not working.
7. Can I take a scrolling screenshot on a Dell laptop?
Windows doesn’t support scrolling screenshots by default. Use third-party tools like PicPick or ShareX to capture long web pages or documents on your Dell laptop.