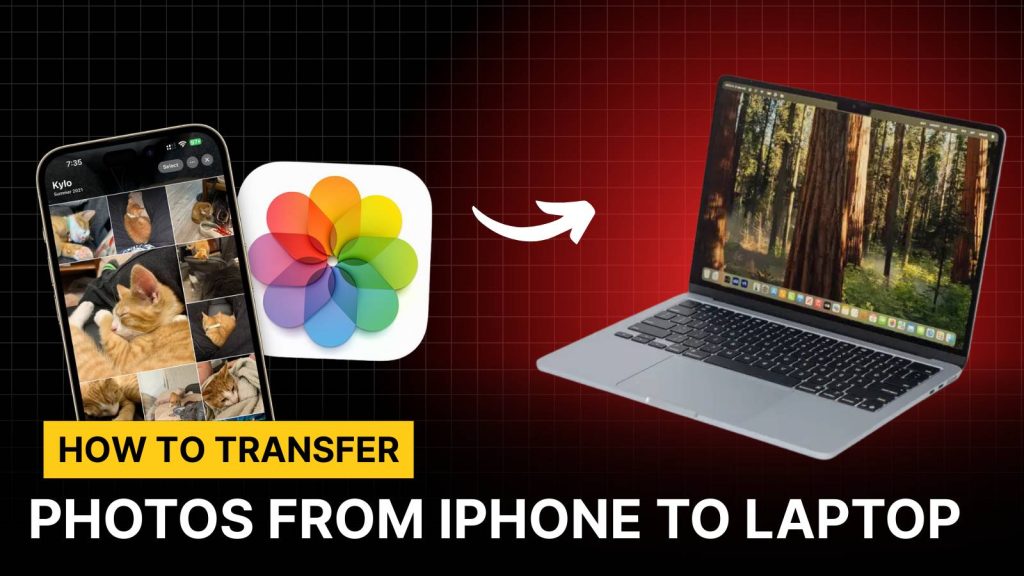
Transferring photos from your iPhone to your laptop doesn’t have to involve messy cables or complicated setups. Want to free up space on your iPhone, back up precious memories, or easily access photos for editing, learning how to transfer photos from iPhone to laptop wirelessly can save you a lot of time and hassle. With advancements in cloud storage, device syncing, and third-party apps, there are multiple ways to move your photos without ever plugging in a USB cable.
Find 5 quick and easy methods that work for both Windows and Mac users, along with helpful tips to make the process faster and safer.
1. Using iCloud Photos to Transfer iPhone Photos to Laptop
iCloud Photos is Apple’s official cloud-based service that automatically syncs your iPhone’s photos, videos, and albums across all Apple devices. It’s designed to make transferring photos seamless and reliable. Using iCloud is one of the most secure ways to transfer photos wirelessly because Apple encrypts your data while uploading it to the cloud.
Steps to use iCloud for wireless photo transfer:
1. Enable iCloud Photos on your iPhone:
- Open Settings > tap your name at the top > iCloud > Photos.
- Toggle iCloud Photos on. This will automatically upload all your iPhone photos to iCloud. You can also choose Optimize iPhone Storage if your device is running low on space.
2. Access iCloud on your laptop:
- Mac: Open the Photos app or System Preferences > Apple ID > iCloud > Photos. All your iPhone photos will sync automatically. You can then download or organize them on your Mac.
- Windows: Download iCloud for Windows, sign in, and select Photos. Once synced, you can access all uploaded photos directly in File Explorer.
3. Managing iCloud storage:
- iCloud’s free plan offers 5GB of storage. For larger photo libraries, consider upgrading to 50GB, 200GB, or 2TB plans.
- Regularly check your iCloud storage to avoid syncing interruptions. Deleting unwanted photos or moving them to an external drive can help manage storage efficiently.
Using iCloud not only simplifies wireless transfer but also ensures that your photos are automatically backed up and accessible from anywhere. It’s an excellent choice for anyone looking to maintain a seamless connection between iPhone and laptop.
2. Transfer Photos via AirDrop (Mac Only)
AirDrop is Apple’s proprietary tool that allows users to transfer photos, videos, and other files directly between devices without using the internet or cloud services. It uses a combination of Bluetooth and Wi-Fi, making it extremely fast and secure. AirDrop is perfect for Mac users who want to quickly move selected photos or entire albums from their iPhone to their laptop.
How to transfer using AirDrop:
1. Enable AirDrop on your Mac:
- Open Finder > select AirDrop from the sidebar.
- Choose Allow me to be discovered by Everyone or Contacts Only depending on your preference.
2. Enable AirDrop on your iPhone:
- Swipe down to open Control Center > press AirDrop > select Everyone or Contacts Only.
3. Transfer photos:
- Open the Photos app on your iPhone.
- Select the photos you want to transfer > tap Share > choose your Mac under AirDrop.
- Accept the transfer on your Mac.
Tips for AirDrop transfers:
- Keep your iPhone and Mac close to each other (within 30 feet) for better connection.
- AirDrop is ideal for transferring multiple photos at once or sending large video files quickly.
- Unlike cloud services, AirDrop doesn’t consume your internet bandwidth and transfers happen locally.
AirDrop provides one of the fastest and most secure methods to transfer photos wirelessly for Mac users and is a must-know method if you frequently move photos between your iPhone and Mac.
3. Using Google Photos to Sync iPhone Pictures
Google Photos is a cross-platform cloud storage service that works for iPhone, Android, and laptops. It allows you to upload, organize, and access your photos from anywhere using a web browser or app. This makes it a great choice for those who need both wireless transfer and cloud backup simultaneously.
Steps to transfer photos via Google Photos:
1. Install Google Photos on your iPhone:
- Download the Google Photos app from the App Store and sign in using your Google account.
2. Upload photos to Google Photos:
- Open the app > tap your profile picture > Photos settings > Back up & sync.
- Ensure Wi-Fi is enabled for faster uploads. All selected photos will now be uploaded to Google’s cloud storage.
3. Access photos on your laptop:
- Open a browser and visit photos.google.com.
- Sign in to your Google account to see all synced photos. You can download them individually or in bulk to your laptop.
Benefits of Google Photos:
- Works on both Windows and Mac laptops.
- Offers AI-based organization (automatic albums, people recognition).
- You can free up iPhone storage once photos are uploaded safely to the cloud.
Google Photos is perfect for anyone looking for a simple, cross-platform solution for wireless photo transfer, while also maintaining a secure online backup of their memories.
4. Using Dropbox or OneDrive for Wireless Transfer
Cloud storage platforms like Dropbox and OneDrive are popular alternatives for wireless photo transfer because they provide structured storage and advanced features for file management. These platforms are ideal if you want organized folders, shareable links, or cross-device access.
How to transfer photos using Dropbox/OneDrive:
1. Install the app on your iPhone:
- Download Dropbox or OneDrive from the App Store. Sign in using your credentials.
2. Upload photos:
- Open the app > tap Upload > select Photos > choose the images you want to upload.
- You can also enable automatic photo backup to sync new photos as soon as they are taken.
3. Access photos on your laptop:
- Download the desktop app or log in through a browser.
- All uploaded photos will be available in your cloud storage folder, ready to download or share.
Advantages of using Dropbox/OneDrive:
- Ability to organize photos into folders for easy management.
- Supports file sharing and collaboration with others.
- Automatic upload ensures all new photos are saved without manual intervention.
This method works on both Windows and Mac, and is highly recommended for professional users or anyone managing a large number of photos regularly.
5. Using Third-Party Apps (e.g., Snapdrop, Photo Transfer App)
For users who want direct wireless transfer without using cloud services, third-party apps like Snapdrop or Photo Transfer App offer a fast and private alternative. These apps work over the same Wi-Fi network, making transfers quick and reliable.
Using Snapdrop:
1. Open Snapdrop.net on both your iPhone browser and your laptop browser.
2. Ensure both devices are connected to the same Wi-Fi network.
3. Your devices will detect each other automatically. Select the photos on your iPhone > tap your laptop device name to send.
4. Accept the transfer on your laptop.
Benefits of third-party apps:
- Works on any platform, including Windows, Mac, Linux, or even Android.
- Transfers are direct and private; no photos are uploaded to the cloud.
- Quick setup with minimal configuration.
Third-party apps are perfect for users who want wireless photo transfer from iPhone to laptop without relying on Apple or Google services, providing a flexible and efficient solution for all devices.
By following these methods, you can transfer your photos quickly, securely, and without cables, keeping your memories safe and accessible wherever you go.
FAQs
1. Can I transfer photos from iPhone to laptop without Wi-Fi?
Yes, you can. Some apps like AirDrop (for Mac) or Photo Transfer App allow direct transfer over Bluetooth or a local Wi-Fi hotspot without internet access. However, cloud services like iCloud, Google Photos, Dropbox, or OneDrive require an active internet connection.
2. Will transferring photos wirelessly reduce their quality?
No. Most wireless transfer methods, including iCloud Photos, AirDrop, and Snapdrop, maintain the original photo resolution. Some cloud services may compress photos if you select “High Quality” instead of “Original” in the app settings, so always check preferences before transfer.
3. How long does it take to transfer photos wirelessly?
Transfer time depends on the method and file size. AirDrop is almost instant for small batches, while cloud-based services like iCloud or Google Photos may take longer depending on your internet speed and total photo size. For large libraries, it’s recommended to transfer in batches.
4. Can I transfer videos from iPhone to laptop wirelessly too?
Yes. All methods discussed—iCloud, AirDrop, Google Photos, Dropbox/OneDrive, and Snapdrop—support video files. However, large videos may take longer to upload/download, so ensure your Wi-Fi connection is stable and that your storage plan accommodates large files.
5. Can I transfer photos from iPhone to Windows laptop using AirDrop?
No. AirDrop is exclusive to Apple devices, meaning it only works between iPhone, iPad, and Mac. Windows users need alternatives like iCloud for Windows, Google Photos, Dropbox, OneDrive, or Snapdrop for wireless transfer.
6. How can I transfer selected photos instead of the entire library?
Most methods allow selective transfers:
- AirDrop: Select individual photos in the Photos app before sharing.
- iCloud or Google Photos: You can download specific albums or photos.
- Dropbox/OneDrive: Manually choose photos to upload.
- Snapdrop: Pick only the files you want to send from your iPhone.
7. Can I automate wireless photo transfer from iPhone to laptop?
Yes. Services like iCloud, Google Photos, Dropbox, and OneDrive can automatically sync new photos as soon as they are taken. Enabling Back Up & Sync or automatic upload ensures you don’t have to transfer manually.
8. Is wireless photo transfer safe and secure?
Yes, when using trusted services. iCloud, Google Photos, Dropbox, and OneDrive encrypt photos in transit and at rest. Direct transfer apps like AirDrop and Snapdrop are local transfers and don’t upload photos to the internet, offering additional privacy.
9. Can I transfer HEIC photos from iPhone to laptop?
Yes. iPhones store photos in HEIC format by default. Most modern laptops and cloud services support HEIC, but if your Windows laptop cannot read HEIC, you may need to:
- Convert HEIC to JPEG using settings on iPhone before transfer.
- Install HEIF/HEIC extension on Windows to view the files.
10. What is the best method for transferring large photo libraries wirelessly?
For large libraries, iCloud Photos or Google Photos are recommended because they handle bulk uploads automatically. For Mac users, AirDrop works for smaller batches. Using cloud services ensures backups and avoids interrupted transfers due to connectivity issues.